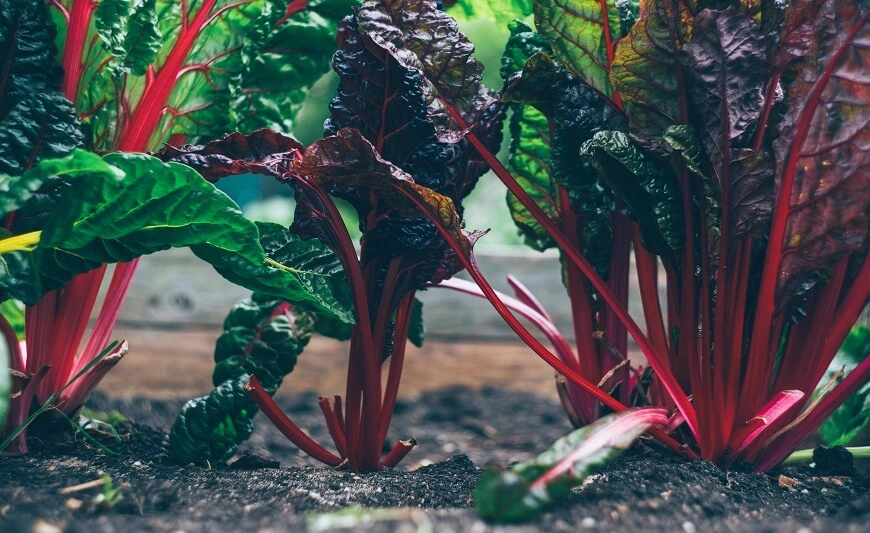
Lasagna gardening is an easy (and semi-crunchy) method for how to layer a raised garden bed. Read this to learn how to build a lasagna garden and why you should consider this method for your own garden.
In this post, I’ll answer:
- What is lasagna gardening?
- What are the benefits of lasagna gardening?
- How to make a lasagna garden? (and what you’ll need to make it)
- What are lasagna garden layers?
- How soon can you plant in a lasagna garden?
After my container garden debacle of 2020, where I essentially cooked our tomato plants in ceramic pots, it was time to rethink not just the plants, but the containers. Our clay dirt is not the ideal growing material for vegetable plants. After settling on the addition of garden beds, I began my search for ones that would fit our location well. The standard one foot tall beds seemed too close to the clay dirt, I was worried that the plants wouldn’t have enough nutrient rich soil. Costco had available square container gardens that were just shy of two feet tall. This seemed tall enough to give plants room to establish strong roots, and hopefully a prolific yield, so I purchased them.
While awaiting the arrival of my garden beds, I began working on plant placement. At this point I realized that tall beds would require a lot of dirt! A lot of dirt that would need to be tilled next year. I love working in the garden, but the idea of tilling tall garden beds next year was not exciting. Initially, I accepted that this was just something that would need to be done and proceeded with my plant placement efforts. A day or two later as I was mindlessly scrolling through Pinterest, I found a solution: a lasagna garden.
What is Lasagna Gardening?
“Lasagna” is a word one typically reserves for the kitchen, but it is also perfectly appropriate for the garden. If you are like me, a lasagna garden sounded like a salsa garden, where the plants help to make its namesake. I was intrigued to learn that a lasagna garden refers to a technique. By layering organic ingredients several times over, you build a garden that is naturally nutrient rich. The bonus - no tilling required! Just as lasagna recipes vary a bit depending upon the chef, lasagna gardens vary a bit depending upon the gardener.
What are the Benefits of Lasagna Gardening?
- Less Water: Compost holds water better than regular garden soil. Water retention in the compost lessens the duration and/or frequency of watering.
- Loose Soil: Composted soil is easier to work with because it is looser. This is especially true if you add Red Wiggler Worms.
- Fewer Weeds: A lasagna garden should have fewer weeds because the bottom brown layer should serve as a barrier for weeds.
- Less Fertilizer: Utilizing organic compost imparts nutrients into the soil without adding it as a supplement. This saves both time and money.
How to Make a Lasagna Garden? (and what you’ll need to make it)
Here are the ingredients you need to build your very own lasagna garden:
- Chicken Wire
- Wire Snips
- Garden Box
- Paper Material: cardboard or newspaper
- Water Absorbing Materials: straw, dry leaves, etc.
- Organic Materials: apple cores, strawberry hulls, broccoli stems
- Soil
Step 1: Prep the Space
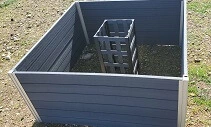
Once you have identified the location of your garden bed, line the area with chicken wire. Wire should cover the entire bottom of the garden bed. This is an important step because annoying critters like squirrels and moles may enjoy the fruits (and vegetables) of your labor by coming up though the bottom, which is quite difficult to correct after it becomes an issue.
Tip: Be sure to wear gloves, because chicken wire can be sharp!
Step 2: Add the Layers
The lasagna will take shape in this stage with the addition of alternating layers to your raised garden bed.
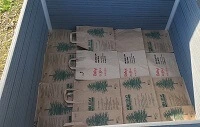
Your first layer is the base and should be cardboard, newspaper, or something of the like. We had enough paper grocery bags, so I utilized these for my first layer. Add a little moisture to aid in the decomposition process. Adding water is a careful balance because too much water may result in mold mildew.
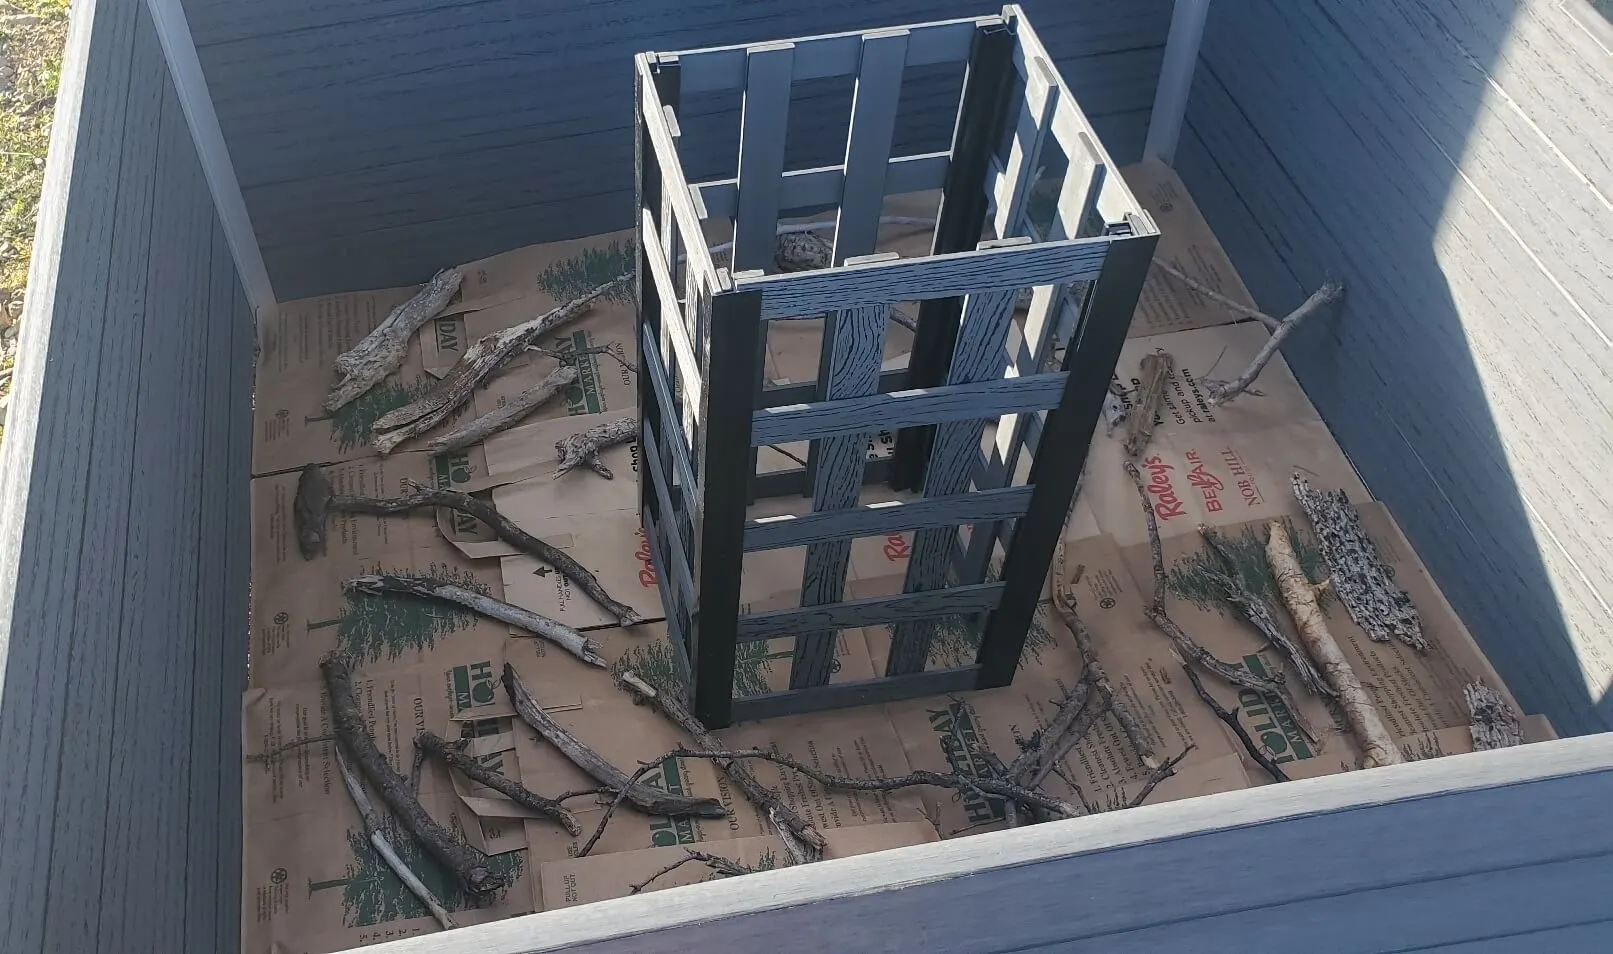
The second layer should include water-absorbing materials. Look around your yard to find dried grass clippings, straw, bark, or even twigs. With such tall garden boxes, I gathered sticks and twigs to help take up some of the space. After this layer, I added some dry grass that I was able to rake up. In hindsight, this may not have been the best move, because I may have inadvertently added weeds into my garden bed…time will tell.
The third layer included organic materials. Grass clippings and food waste work great! We keep a food waste receptacle under the kitchen sink for things like apple cores, celery hearts, banana peels, etc. I initially began collecting these items for our worm bin. Now that we have added garden beds, we are able to make more use of what would have been waste by using it in the garden.
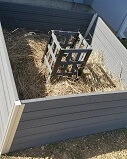
The fourth layer is compost. Since I do not have a full compost bin, and our worms, while productive, have only been producing for a few months, I purchased compost. This layer was about an inch thick when finished.
I continued layering compost and organic material until about four inches from the top.
.webp)
Add worms. If you have read any of my prior posts, you likely know that I recently started a worm bin. If you need it, here’s a refresher on vermicomposting.
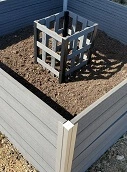
A layer of topsoil (approximately one to two inches from the top) finished the lasagna. This may seem quite close to the top of the box, but keep in mind that the lasagna will “bake” down as it decomposes.
Step 3: Let it Cook
How does one cook a lasagna garden you might wonder? In most cases, simply leave it alone for two weeks or more. Keep in mind decomposition requires a bit of moisture. If you are experiencing a drought or you are starting your garden beds in the heat of the summer, you might want to occasionally add water to keep it from drying out. Ideally, morning dew or a bit of rain is all you will need to foster decomposition.
Step 4: Plant
Add a final layer of topsoil prior to planting. For optimal productivity, plan out which plants you plan to use and where they will be planted in the garden. My plans for this year look like this:
*Insert image*
Planting time!
It may seem like a lot of work to put together a raised garden bed using the lasagna method. It did require a fair amount of time, but I really enjoyed the process. The benefits of a lasagna garden are compelling and ultimately convinced me to give it a try.
My nutrient rich lasagna garden should be ready for planting this weekend! I have enjoyed adding layers and trust that this year the garden will be more prolific than last year. I am crossing my fingers (and my toes) for extra luck!


